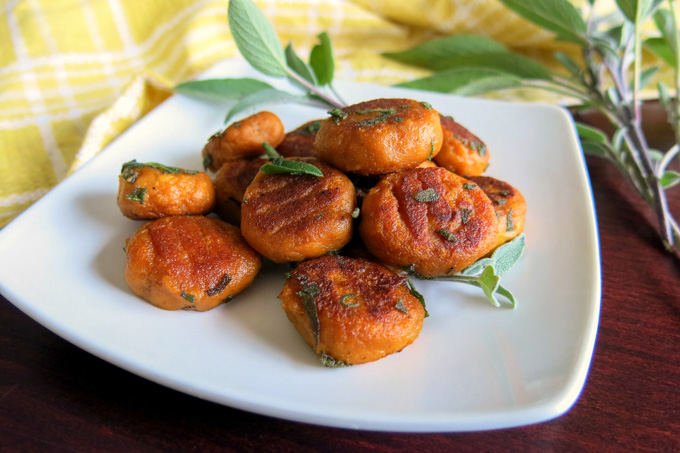
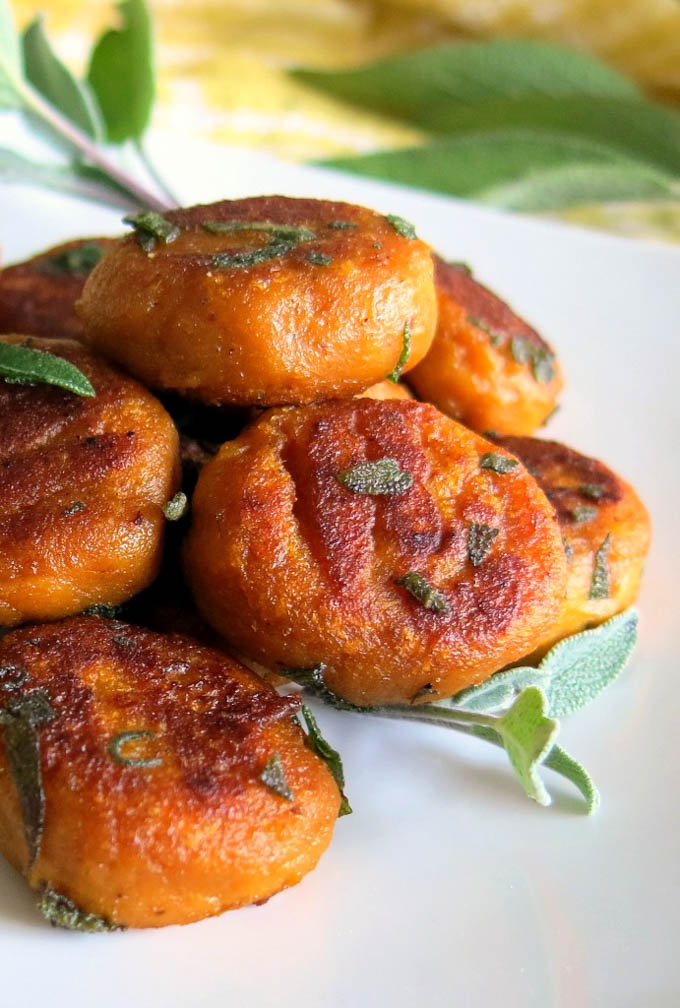
 Let me tell you about these pumpkin gnocchi… these beautiful, bright orange balls of tasty, tasty goodness. They are super crispy on the outside, soft and doughy on the inside, vibrantly colored, and incredibly versatile. You can fry up a whole pan of them and there will never be leftovers. You can make them well in advance of holiday parties or special dinners and then serve them up as if it’s nothing. You will impress the pants off of your guests. In the best way possible.
I’ve been making variations of these gnocchi for years now. They’re definitely a family favorite, and I get requests for them every time Thanksgiving and Christmas roll around. So they’re always on the menu for the holidays, not least because they are so easy to make ahead of time. And you can dress them up or down to go with just about anything.
These gnocchi start with puréed pumpkin. Not sure how to purée a pumpkin? It’s easy! Cut a sugar or pie pumpkin in half, scoop out the seeds and stringy bits, and lightly brush the flesh with some olive oil. Place your pumpkin halves cut side down on a sheet pan and roast them in the oven at 350 degrees for 45 minutes to an hour, until they’re soft and sweet and tender. Then just remove the peel, toss the flesh into a stand mixer or blender and purée it until smooth. Portion your purée out in freezer bags or tupperware containers and refrigerate or freeze it. See? Easy.
You are also more than welcome to use canned pumpkin. Even. Easier.
Pumpkins are loaded with carotenoids such as beta-carotene that give them their bright orange color. These forms of Vitamin A are important for eye health, particularly for low-light and night vision. Good thing a serving of pumpkin has over 200% of your daily value of Vitamin A!
(Psst… you can also easily substitute any winter squash purée for the pumpkin. Ohhh yes you can. Delicata squash gnocchi, anyone?)
Once you’ve got the gnocchi rolled out and shaped, you can refrigerate them in an airtight container between layers of waxed paper and just pull out exactly how many you need for lunch or dinner or late night snacking. Gnocchi for daaays. (I’ve been known to make four batches at a time to keep the freezer well-stocked with these.) When you’re ready to use them, just toss them into boiling water until they float and then transfer them to your skillet.
That skillet, primed with some fresh sage and butter, is where the magic happens. You will not believe how crispy these guys get.
Time to pull out that lonely can of pumpkin hiding in the back of the pantry…
- 1½ cups pumpkin purée
- ⅛ teaspoon granulated garlic (optional)
- 1 teaspoon sea salt
- ⅓ cup brown rice flour (plus additional flour for dusting hands and work surface)
- ¼ cup sweet rice flour
- ½ cup potato flour*
- 2 tablespoons vegan buttery spread, butter, or cooking oil for frying (I used soy-free Earth Balance)
- 2 tablespoons chopped fresh sage**
- Place pumpkin purée, granulated garlic, and sea salt in a stand mixer with a paddle attachment. Mix briefly on medium speed. Add brown rice and sweet rice flours and mix on medium speed until well-incorporated.
- After all other ingredients are well mixed, begin to add potato flour two tablespoons at a time, mixing after each addition. The gnocchi dough will become very thick and somewhat gummy. You may not need to use the full cup of potato flour or you may need to add a little bit more, depending on the moisture content of your pumpkin. You're looking for a stiff dough that's at least as firm as play dough.
- Scoop out half-tablespoon balls of gnocchi dough (I make small balls with a #50 ice cream scoop and cut each in half). Using floured or oiled hands, roll each ball into a smooth, slightly oval shape, then press into each one with a fork to flatten them slightly.
- Drop the gnocchi into a large pot of gently boiling water and simmer them until they float to the top (usually about 2-4 minutes). Remove gnocchi with a slotted spoon, drain, and set aside.
- Heat butter or oil in a large non-stick skillet over medium-high heat. Add chopped sage, then lay the gnocchi down in a single layer. Fry for 2-4 minutes on each side until they are a deep golden brown. Remove from heat, sprinkle with salt to taste, and serve immediately.
**I highly recommend that you use fresh sage, but you can substitute 2-3 teaspoons of dried sage if you don't have it.
-If you want to prep these ahead of time and refrigerate or freeze them, do so before you boil them. Refrigerate in an airtight container in single layers between sheets of waxed paper. To freeze, arrange them in a single layer on a baking sheet and freeze just until solid, then transfer them to freezer bags or airtight containers.


So good! Thank you. My son liked them too and he is picky 🙂
Thank you! These are definitely one of my all-time favorites!